Zapier integration
Zapier lets you connect Lunatask to 5000+ other apps and web services. Automated connections called Zaps, set up in minutes with no coding, automate your day-to-day tasks and build workflows between apps that otherwise wouldn’t be possible.
Each Zap has one app as the Trigger where your information comes from and which causes one or more Actions in other apps where your data gets sent automatically.
Sign up for a free Zapier account – from there you can jump right in.
Our Zapier integration is designed to bring tasks into Lunatask, but can’t sync them out to other apps.
Since your data in Lunatask is encrypted, our servers can’t access it or share it with Zapier. This is a common limitation of end-to-end encrypted apps, where privacy comes at the cost of easy data sharing.
Zapier’s free plan is limited to 100 operations per month. More operations require upgrading your Zapier account.
Pre-made templates
We offer some pre-made templates for common integrations on our Zapier page.
If you wish to add tasks to different areas at various times, you may also consider using an Inbox approach – create a separate “Inbox” area where incoming tasks would collect to be sorted later.
Tutorial
In this tutorial, we’ll show how to set up an integration between your Gmail account and Lunatask to push starred emails into Lunatask via Zapier from scratch (without using the premade template). You can use Zapier the same way to connect to any other supported app.
Start by creating a new Zap:

Now, we have to set up the trigger – find and click on Gmail:
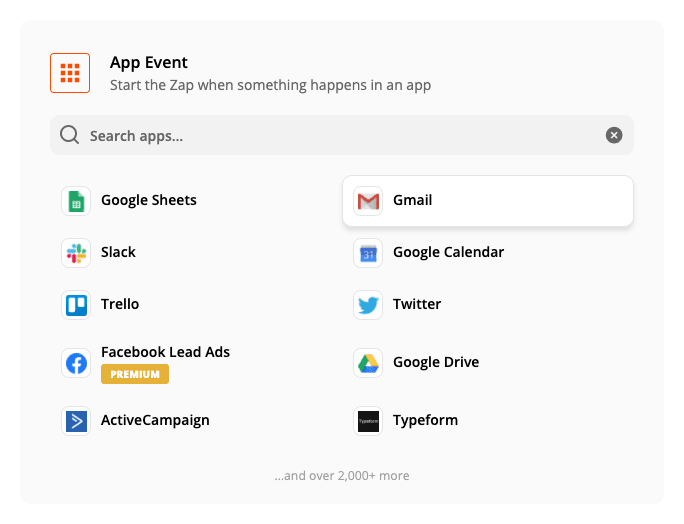
Next, configure the trigger. The event we’ll use here is “New Starred Email”.

Now, you’ll be prompted to either pick an existing, already connected Gmail account or connect a new one.

At this point, the trigger is configured. Next, we have to set up what action happens when an email is starred. Lookup Lunatask and select it:

Select “Create Task” as the action and click “Continue”.

Now, you will be prompted to connect your Lunatask account. Click “Sign in to Lunatask”.

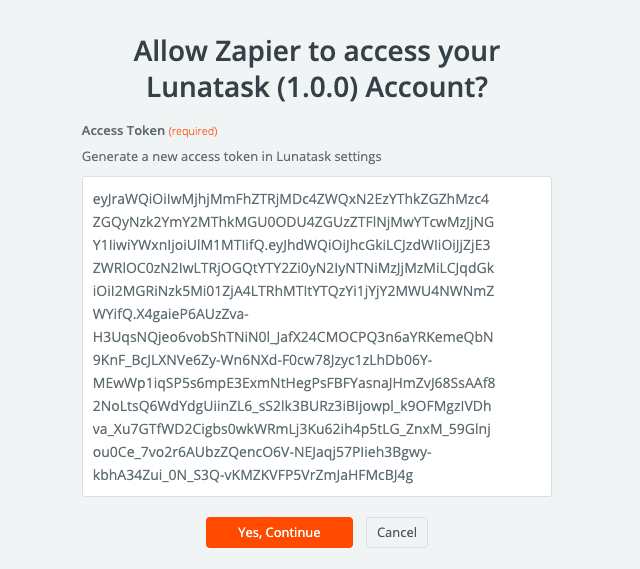
A new window will appear prompting you to enter your access token:

Create a new access token in Settings → Access tokens in our desktop app, named “Zapier”.
Once created, click “Copy to Clipboard” and paste it into the prompt:
Next, set up your action and what properties the task should have when created when an email is starred in Gmail. In this example, we’ll use the email’s subject as the task’s name.

The second required field is Area ID – this sets into which area of life shall the task go. Choose an area, copy Area ID in its settings, and paste it into the prompt.
If you wish to add tasks to different areas at various times, you may also consider using an Inbox approach – create a separate “Inbox” area where incoming tasks would collect to be sorted later.
Optionally, you can set the task’s desired status, motivation, or priority. You can leave these empty for default values to be used.
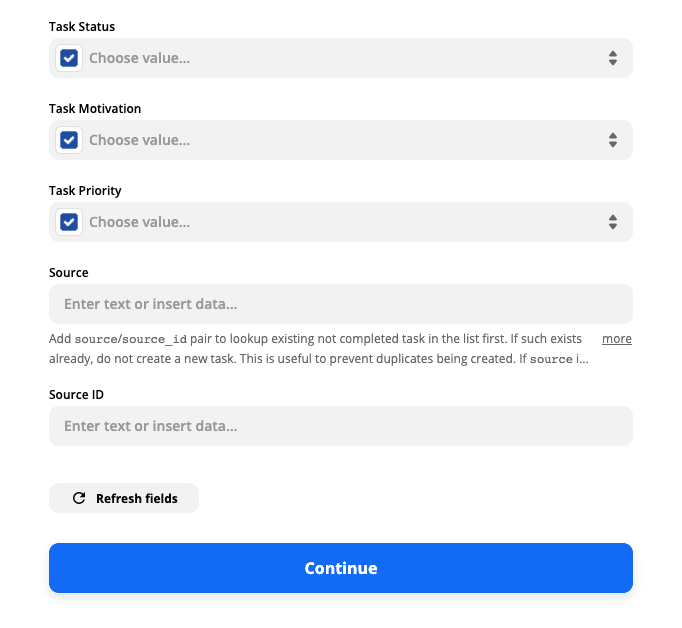
You’re almost ready. Click “Test & Continue”, and a test task should appear in your list, confirming that everything is set up correctly.
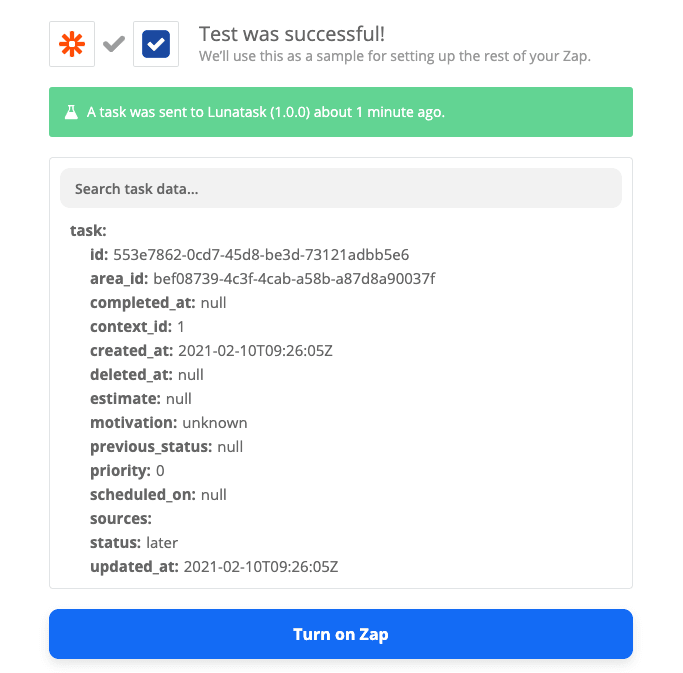
Lastly, turn on the Zap. Your Gmail integration is now set up.
FAQ
Why do I need Area ID and can’t just pick area from a list?
Your data in Lunatask is end-to-end encrypted. We can’t offer suggestions because neither us or Zapier know the names of your areas.
What happens when I delete an area with configured Zaps?
Your Zaps will stop working at this point. Be sure to reconfigure your Zaps with new Area ID when you delete an area.
How do I avoid creating duplicate tasks?
When creating a task, while there is already an existing not completed one in the same area with the same source and source_id pair, the Zap will succeed without creating a duplicate.
You can think of source and source_id attributes as identification of the record in the external system. For example, source could be “gmail”, and source_id could be the email’s ID in Gmail.